Tigers are one of the most iconic animals, admired for their majestic appearance, strength, and grace. Drawing a tiger can be a fun yet challenging task, especially if you’re aiming to capture the details of their fur, stripes, and powerful form. This article provides step-by-step guidance on drawing tigers, covering techniques for beginners and tips to help experienced artists improve their work. Let’s dive into the essentials of drawing a tiger, from basic sketches to adding realistic details.
Table of Contents
Basic Steps for Drawing a Tiger
1. Begin with Basic Shapes
Start by sketching the foundational shapes that represent the tiger’s head and body. Draw a large oval for the body and a circle for the head. Add smaller circles to outline the shoulders and hips. This foundational structure will serve as a guide for the proportions and positioning of the tiger.
2. Outline the Head and Face
Within the head circle, mark guidelines to position the eyes, nose, and mouth. Draw the nose shape in the center of the face and place two small circles for the eyes slightly above it. Add ears by sketching two rounded triangles on the top of the head.
3. Draw the Body and Legs
Use the large oval shape as a guide for the body and sketch in the limbs. Draw sturdy front legs using straight lines for guidance and add oval shapes for the paws. For the back legs, start with larger circles at the top (near the hip area) and draw downward lines to outline the leg muscles and paw structure.
4. Add the Tail and Refine the Shape
Extend a line from the body’s backside to create a thick, curved tail. Tigers have muscular, powerful tails that taper towards the tip, so keep the tail’s thickness consistent with the body’s proportions. Smooth out any rough shapes to refine the tiger’s body.
5. Draw the Facial Details
Focus on refining the face by adding almond-shaped eyes, a slightly curved line for the mouth, and a “W” shape under the nose for the muzzle. Tigers have a distinctive face, so pay attention to details like the lines around the eyes and the shape of the nose.
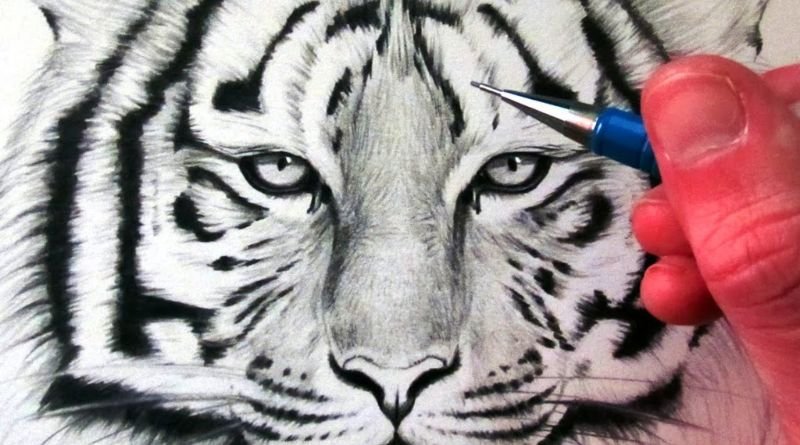
6. Add Stripes and Texture
Tigers are known for their unique stripe patterns. Use short, curved lines to add stripes across the body, face, and limbs. Remember that each tiger has a unique pattern, so you have creative freedom to vary the stripes slightly. Stripes are thicker on the back and sides and thinner on the legs and face.
7. Focus on Shading and Detailing
To add dimension, shade areas where the light wouldn’t naturally fall, such as under the belly, on the side of the face, and between the legs. Use cross-hatching or stippling to create a fur-like texture. Darken the stripes and eyes to make them stand out.
Tips for Realistic Tiger Drawing
- Study Tiger Anatomy: Observing pictures or videos of tigers will help you understand their muscle structure, facial features, and movements.
- Practice Different Poses: Try drawing a tiger in different positions, such as walking, sitting, or lying down, to improve your understanding of its body dynamics.
- Use Reference Images: Photos of tigers can help you capture realistic proportions and details, especially for the stripes and facial features.
- Experiment with Shading Techniques: Shading is essential for adding depth, so practice techniques like blending and cross-hatching to enhance realism.
Frequently Asked Questions (FAQs)
Q1: How can I improve my tiger drawing skills?
A1: Start by practicing basic shapes to capture the tiger’s proportions. Use reference images, practice shading, and try different poses to develop a well-rounded skill set.
Q2: What materials are best for drawing tigers?
A2: You can draw tigers with pencils for sketching and shading. If you’re adding color, colored pencils or markers work well for detailed areas, and charcoal can be used for creating bold contrasts in black-and-white drawings.
Q3: How do I make the tiger’s stripes look realistic?
A3: To achieve realistic stripes, make them slightly uneven and vary their thickness. Study reference images to see how the stripes curve around the body’s contours, adding depth and realism.
Q4: What should I focus on when drawing a tiger’s face?
A4: Pay attention to the shape and placement of the eyes, nose, and mouth, as well as the fur markings around the face. Tigers have intense, forward-facing eyes that convey their predatory nature.
Q5: Can beginners draw a realistic tiger?
A5: Yes, beginners can draw a realistic tiger by starting with basic shapes and gradually adding details. Patience and practice with shading and texture will help create a more lifelike drawing.
Conclusion
Drawing a tiger can be both a rewarding and educational experience, allowing you to study the elegance and power of this incredible animal. Whether you’re a beginner or an experienced artist, understanding the basic structure, adding realistic stripes, and focusing on shading will make your tiger drawing stand out. With consistent practice, you’ll be able to create a drawing that captures the beauty and strength of the tiger. Happy drawing!